
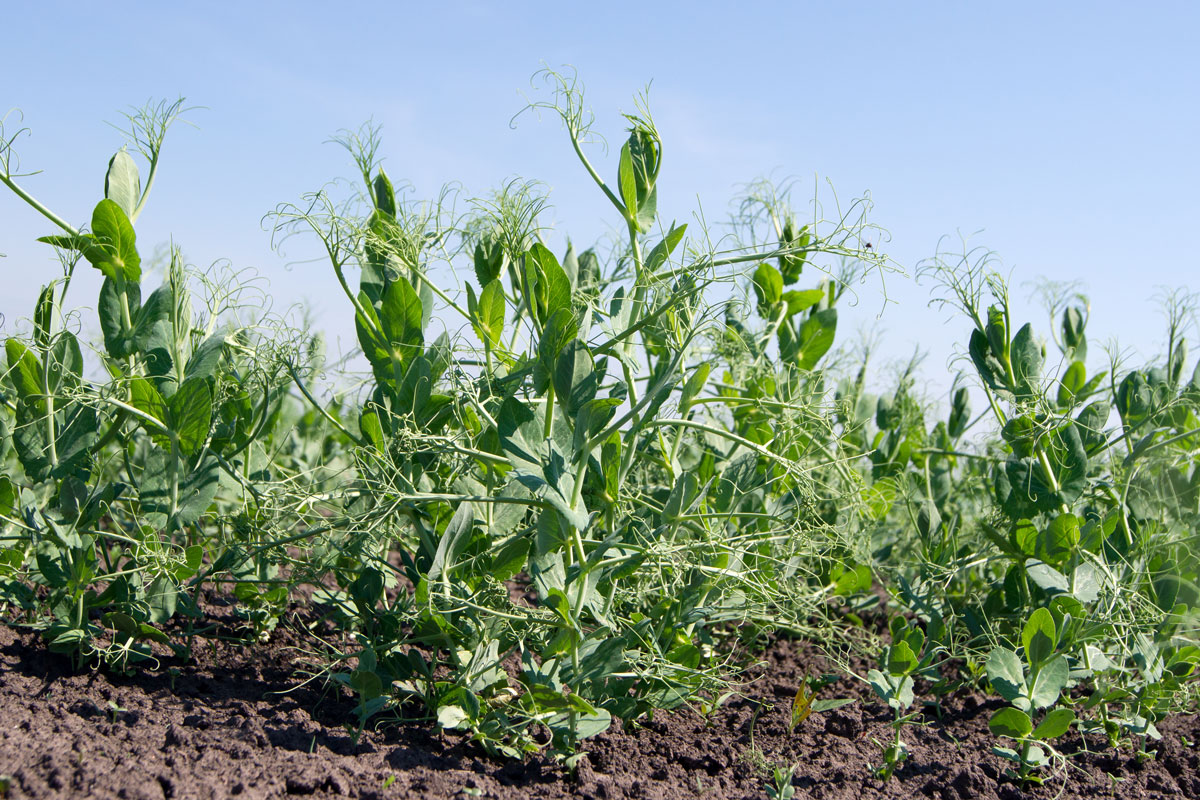
The pea is one of the oldest cultivated plants of all. There is evidence that it has been grown for around 10,000 years. From the Orient it soon spread across the whole of Europe. It is well adapted to our climate and you can plant it early in the year.
There are different subspecies:
Shelling peas or round peas: Pisum sativum L. convar. sativum, which you dry after harvesting.
Marrowfat peas: Pisum sativum L. convar. medullare Alef., for eating fresh, freezing or preserving. If you dry these, they won't go soft when cooked.
And mangetout: Pisum sativum L. convar. axiphium Alef, which you eat unripe when the seeds are just barely visible. They lack an inner parchment layer, so you can eat the pods whole.
Winter mangetout: And then there are a few very special varieties that are suitable for overwintering.
Facts and figures
Planting & harvest times of Pea
Planting 1Direct sowing from Early March to Mid June. After a growing period of 90 days, harvest can begin around Early June and continues until Late July.
Planting 2Direct sowing from Early April to Mid July. After a growing period of 70 days, harvest can begin around Mid June and continues until Late July.
Planting 3Direct sowing from Mid April to Mid July. After a growing period of 70 days, harvest can begin around Mid June and continues until Late October.
WinterDirect sowing from Mid September to Mid November. After a growing period of 200 days, harvest can begin around Early April and continues until Late May next year.
Winter 2Direct sowing from Mid September to Mid November. After a growing period of 290 days, harvest can begin around Early July and continues until Mid August next year.
Sow Pea
Planting 1: Shelling peas, dried peas
Planting 2: Marrowfat peas, for eating fresh and freezing
Planting 3: Mangetout
Winter: Winter peas/winter mangetout for fresh harvest, only special varieties are suitable.
Winter 2: Winter peas/winter mangetout for dry harvest, only special varieties are suitable.
Location and soil
Peas grow best in loose, humus-rich soil in a sunny spot. They don't like soil that is too heavy or too sandy.
Good and bad companions of Pea
Nightshade plants such as tomatoes, peppers and aubergines, other legumes like beans, and alliums like onions and garlic don't make good neighbours for peas.
- Shade, wind shelter, ground cover
- Practical tip for this pair
Predecessors and successors of Pea
Carrots as a preceding crop and lamb's lettuce as a following crop are not a good choice, just like all legumes and alliums.
- Loosens soil, improves soil structure
- Both host the same nematode species
- Both host the same nematode species
- Both host the same nematode species
- Both host the same nematode species
- Both host the same nematode species
- Both host the same nematode species
- Both host the same nematode species
- Both host the same nematode species
- Nitrogen release
- Nitrogen release
- Nitrogen release
- Nitrogen release
- Nitrogen release
- Nitrogen release
- Nitrogen release
- Nitrogen release
- Nitrogen release
- Nitrogen release
- Both host the same nematode species
- Both host the same nematode species
- Both host the same nematode species
- Both host the same nematode species
- Too much nitrogen for a sensitive successor
- Both host the same nematode species
- Too much nitrogen for a sensitive successor
- Both host the same nematode species
- Both host the same nematode species
Varieties
See winter mangetout
Care and fertilising
Once the young pea plants are 20 cm tall, you can earth them up a bit. This improves their stability and encourages root growth. Now is also a good time to think about a climbing support. You'll find plenty of examples online – you can push hazel sticks or other straight, long branches into the soil in a criss-cross pattern and tie them together where they cross. Or attach netting to two or more posts depending on the length of the bed. Give the soil a gentle hoe now and then so it can absorb water better, and keep it evenly moist during the main fruiting period. Peas are legumes, so they don't need any fertiliser.
Diseases and pests
Harvest and processing
The harvest differs a bit depending on the type of pea. Mangetout are sweetest when the seeds are only just visible. Pick them at least every 3 days. Winter mangetout belong to this group. Harvest marrowfat peas when the seeds have become round, a nice green colour and have reached their full size. Then you can shell them and use them soon after. Here too, you should harvest every 2 to 3 days. Both mangetout and marrowfat peas should be used quickly, or better still, frozen straight away. If you store them in the fridge for longer than 1 to 2 days, the sugar turns to starch and they taste bland rather than sweet. Shelling peas are ready when the pods have dried out nicely. After shelling, let them dry for a few more days and then store them somewhere cool and dry.
Open the bed planner Try free for 7 days, web, iOS and Android